This tiny crochet bunny brooch is one of those small projects that feels extra sweet once it comes together. It starts with a simple round head, then the ears give it that soft bunny shape, and finally it turns into a little brooch you can actually wear or pin onto something you love.
I like projects like this because they stay small, but they still let you practice shaping, small-piece assembly, and a few different stitch heights in a very manageable way. If you’re still getting used to working from a magic ring, this is also a nice little project to practice that.
You can follow the written pattern below, or crochet along with my video if that feels easier.
Watch the Video First
If you’d rather see each part come together visually before reading the pattern, the video will be a helpful place to start — especially when it comes to shaping the ears and putting the bunny together.
Why This Crochet Bunny Brooch Is a Fun Small Project
I like this little bunny brooch because it stays small, but still feels special when it’s finished.
It doesn’t use much yarn, and it gives you a chance to practice shaping and sewing small pieces together without turning into a big project. Since it becomes a brooch in the end, it also feels a bit more personal than a simple practice piece.
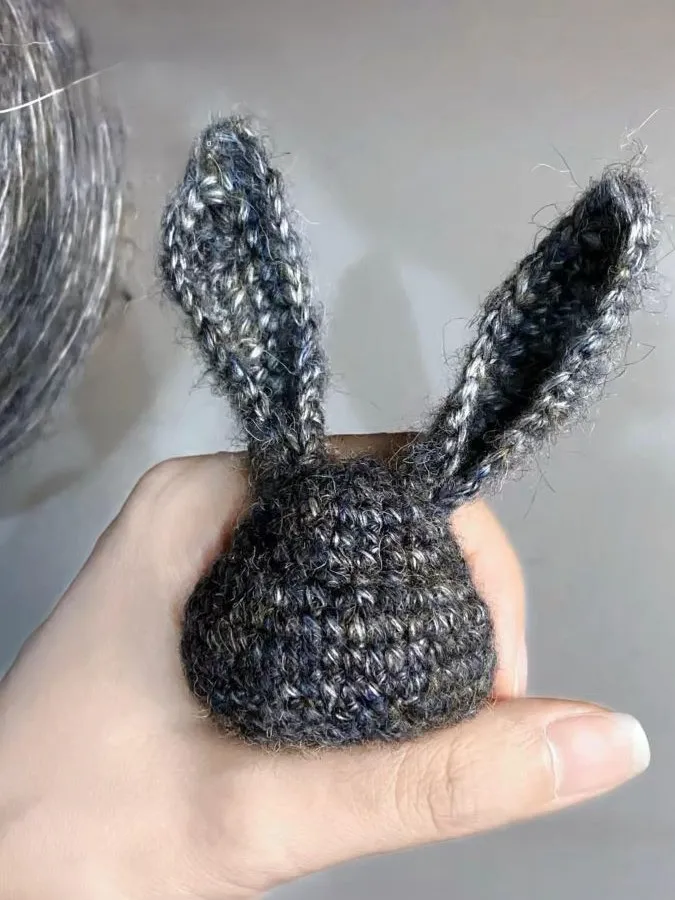
Materials
Here’s what I used for this crochet bunny brooch:
- 2.5 mm crochet hook
- 4-ply cotton yarn
- Fiberfill
- Yarn needle
- Stitch marker
- Scissors
- Brooch pin backing
I used 4-ply cotton yarn for this project and paired it with a 2.5 mm crochet hook because that combination helps the bunny keep a neat shape while still staying small and detailed.
Crochet Abbreviations
Here are the crochet abbreviations used in this pattern:
- MR = magic ring
- ch = chain
- sc = single crochet
- inc = increase
- dec = decrease
- hdc = half double crochet
- dc = double crochet
- tr = treble crochet
- FO = fasten off
- st(s) = stitch(es)
Pattern Notes
A few helpful notes before you start:
- The head is worked in continuous rounds.
- Use a stitch marker to keep track of the first stitch in each round.
- The ears are worked from a foundation chain.
- Stuff the head before closing.
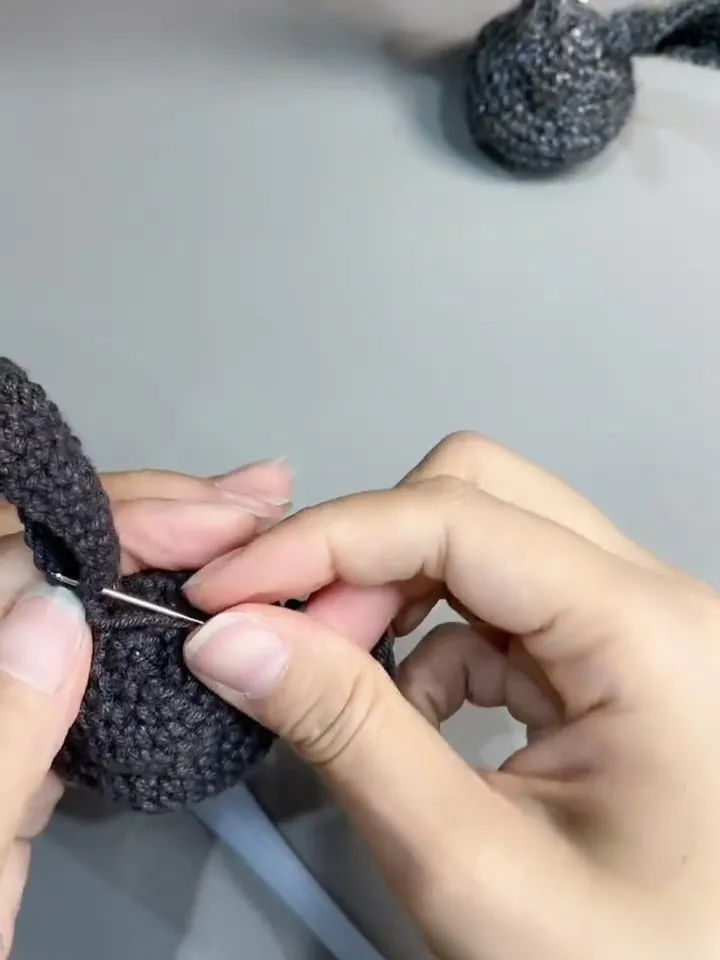
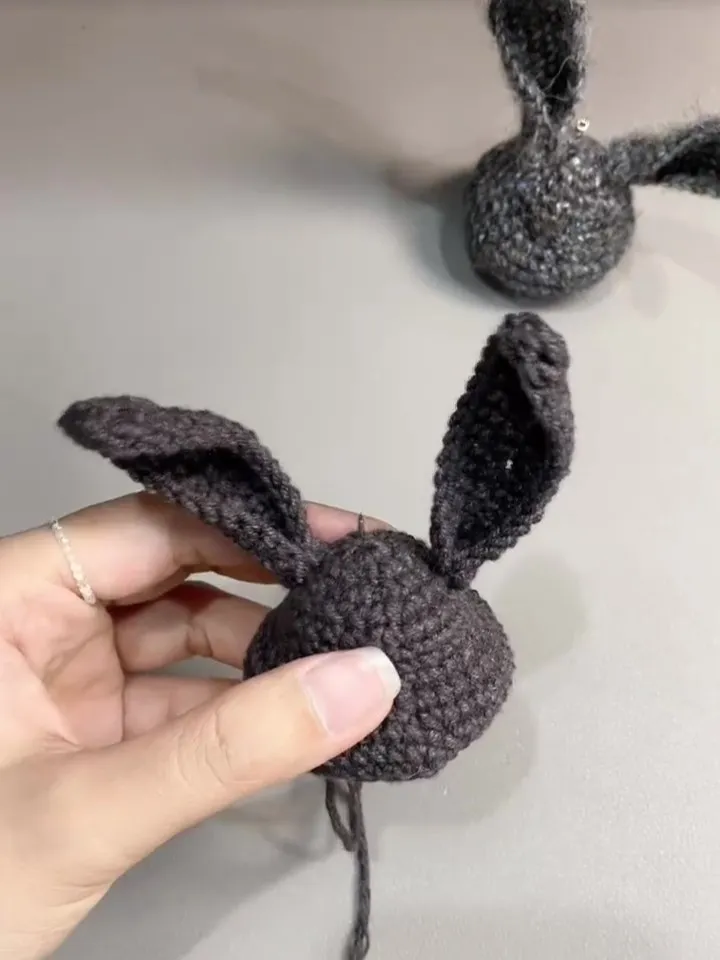
- Sew the ears onto the head, then attach the brooch pin backing at the end.
- If the ear shaping feels confusing at first, the video will help with stitch placement.
Free Crochet Bunny Brooch Pattern
The video is especially helpful for the ears if you want to see the stitch placement more clearly.
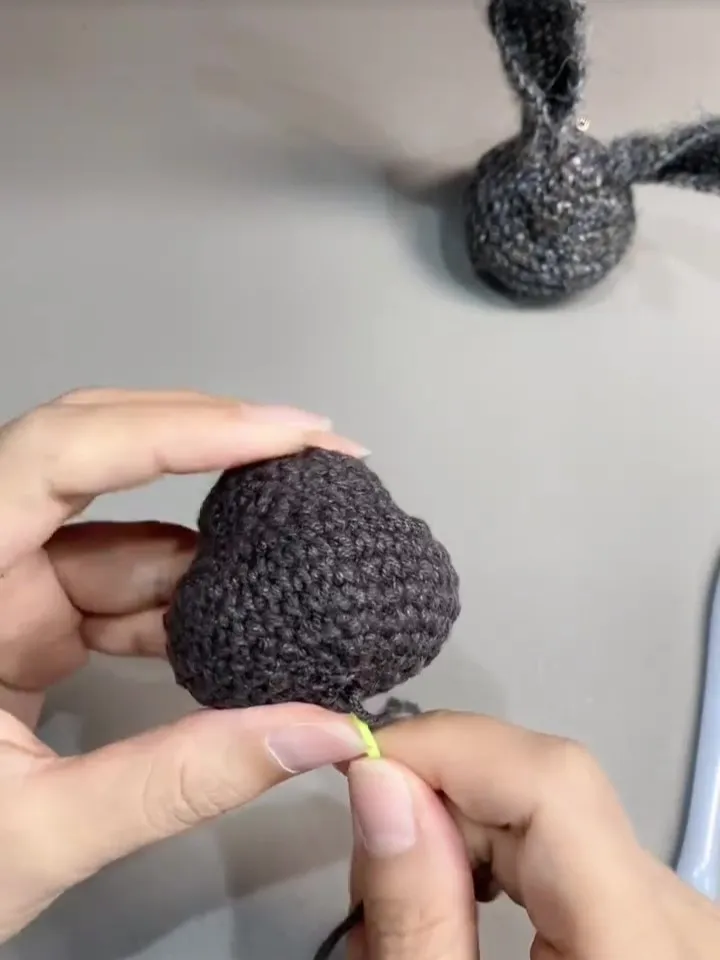
Bunny Head
Round 1: 6 sc in MR (6)
Round 2: inc in each stitch around (12)
Round 3: sc,inc x 6 (18)
Round 4: sc,inc,sc x 6 (24)
Rounds 5–6: sc in each stitch around (24)
Round 7: 10sc,dec x 2 (22)
Round 8: sc,inc x 11 (33)
Round 9: 2sc,inc x 11 (44)
Rounds 10–11: sc in each stitch around (44)
Round 12: 6 sc, dec, 5sc,dec x 4, 6 sc, dec (39)
Round 13: 2 sc, dec, 3sc,dec x 6, 2 sc, dec (32)
Round 14: 3sc,dec x 6 (24)
Round 15: sc,dec,sc x 6 (18)
Round 16: sc,dec x 6 (12)
Stuff the head.
Round 17: dec x 6 (6)
Fasten off and close the opening.
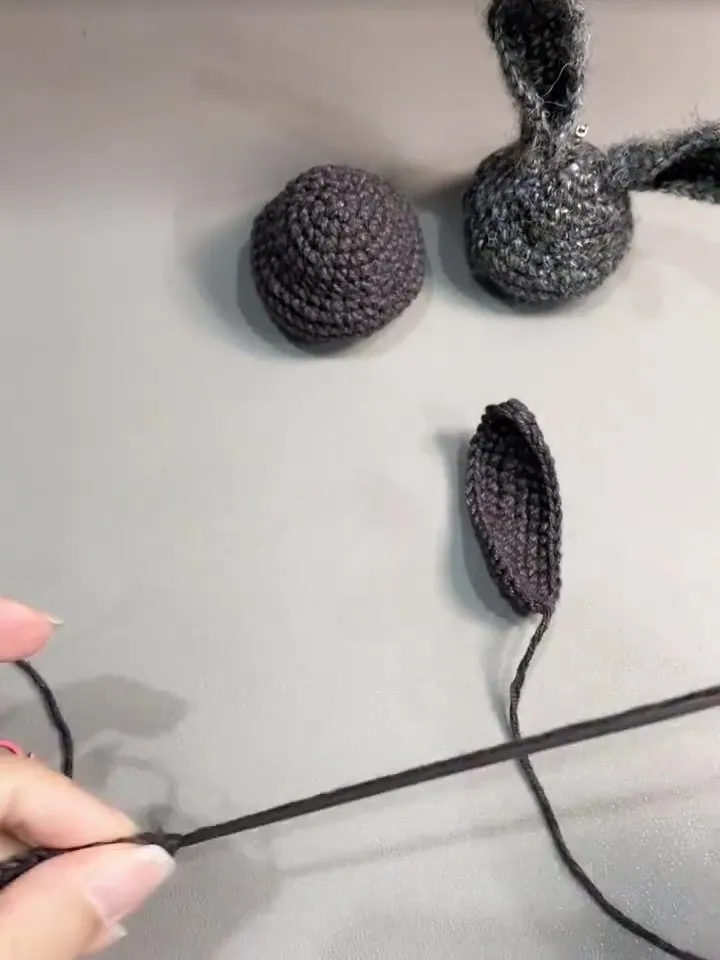
Bunny Ears
The ears are worked from a foundation chain. This part uses a mix of shorter and taller stitches to create the soft curved shape.
Chain 12.
Start in the 2nd chain from hook.
Round 1:
10 sc, 3 sc in the next stitch, 9 sc, inc
Round 2:
inc, 9 sc, inc, sc,hdc,sc, inc, 9 sc, 2 inc
Round 3:
sc, inc, 11 sc, sc,hdc, dc,tr,dc, hdc, sc, 12 sc, inc, sc, inc
Make 2 ears.
Beginner Q&A
Can I make this bunny smaller?
Yes — the easiest way is to use thinner yarn and a smaller hook.
For example, you can try a 1.5 mm hook with 2 strands of fine yarn. That will make the bunny come out smaller while keeping the same general shape.
Just keep in mind that the smaller the project gets, the more fiddly it may feel to crochet.
Why does my bunny head look different?
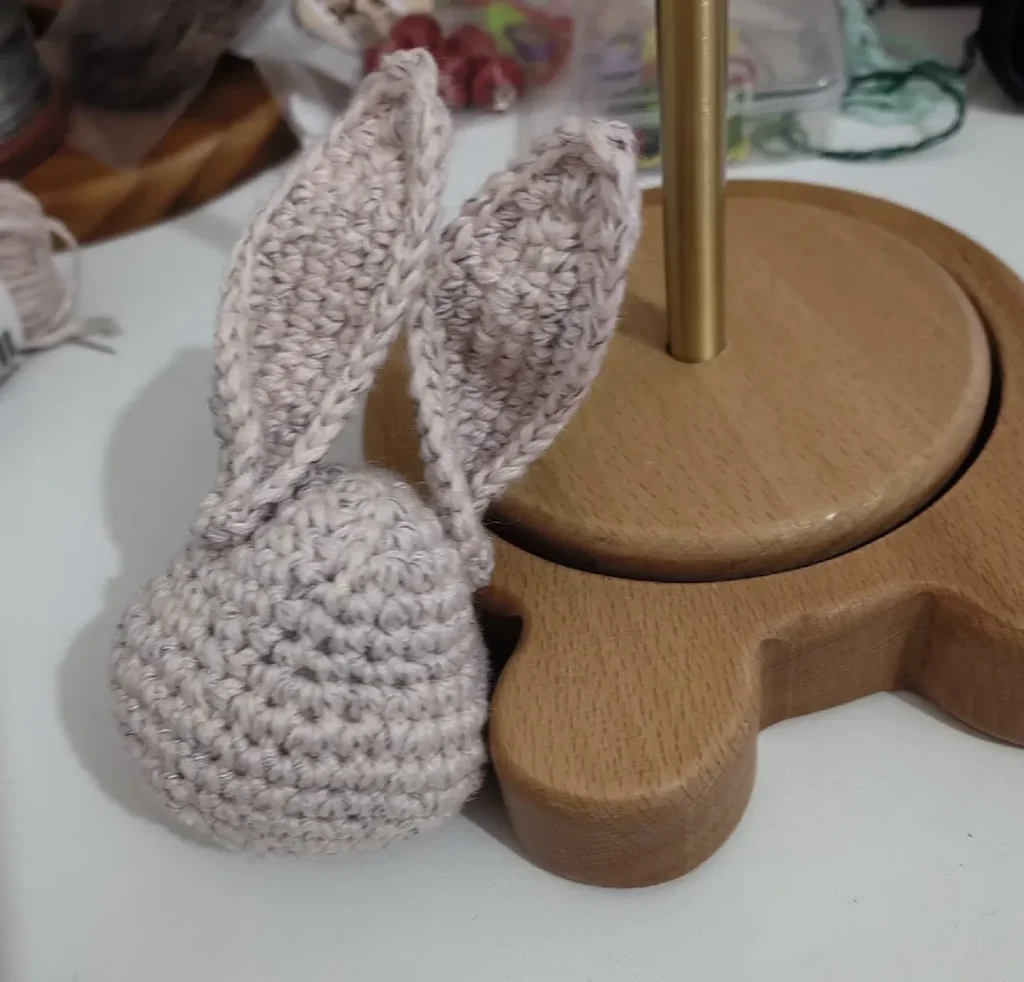
A common reason is missing the round where the pattern decreases and then increases again.
That middle shaping round changes the head quite a lot, so if it gets skipped or worked incorrectly, the bunny head can end up looking very different. It’s a good idea to go back and check whether that part was missed.
What to Try Next
If you enjoyed making this bunny brooch, you might like trying another small crochet project next. Tiny pieces like these are a nice way to keep practicing shaping and finishing without feeling overwhelmed.
Here are a few cute beginner-friendly projects you can try next:
- Mini Crochet Strawberry Keychain – a sweet little project with a simple shape
- Crochet Mini Apple – another small and fun piece to practice shaping
- Crochet Fish Pattern – a tiny project that’s great for getting more comfortable with simple construction
- Mini Crochet Pouch for Yarn Scraps – a useful small make that’s perfect for leftover yarn