
Ever since I started learning amigurumi, I’ve had this little habit of saving the tiniest bits of leftover yarn. Not enough for a big project… but too cute to throw away. That’s exactly how this mini crochet strawberry came to life.
It’s small, quick, and surprisingly satisfying to make. You can finish one in about 30 minutes, which makes it perfect for a relaxed evening project. I love turning mine into a keychain or clipping it onto a tote bag — it adds just the right pop of handmade charm without feeling bulky.
If you’re looking for something simple, adorable, and stash-friendly, this little strawberry might be your next favorite quick make. 🍓If you’re brand new to crochet, start here first: Start Here beginner guide.
🎥 Watch the Video First (Highly Recommended)
Before you dive into the written pattern, I really recommend watching the video all the way through once.
I filmed it slowly on purpose — the pace is beginner-friendly, and I show each round clearly so you can see where the increases and decreases happen. If you’re comfortable with single crochet, but new to working in continuous rounds, seeing it first makes everything feel much less confusing.
You can absolutely pause and crochet along with me. The written pattern below works as a reference guide, but the video is there to help you see the shape forming in real time.
If you’ve ever felt unsure about whether you were doing it “right,” this is your sign to press play first and relax into it. 🍓
Pattern Snapshot
Here’s a quick overview before we get started, this pattern starts with a magic ring (video shows it slowly):
Skill Level: Beginner
Time Required: Approximately 30–45 minutes
Finished Size: About 5 cm (2 inches) tall
Construction: Worked in continuous spiral rounds (no joining at the end of each round)
This is a small, confidence-building amigurumi project. If you’re comfortable with single crochet, increases, and decreases, you’ll be absolutely fine. Even if this is your first time shaping something in the round, the video will walk you through it step by step. 🍓
🧶 Materials
Here’s everything you’ll need to make your mini strawberry:
- Fingering weight cotton yarn in red (body), green (leaves), and a small amount of white for the top detail. Yarn tip: if you’re unsure what to buy, here’s my guide to the best yarn for crochet beginners.
- 2.0 mm crochet hook
- Polyester stuffing (just a small handful)
- Yarn needle for sewing and weaving in ends
- Stitch marker (highly recommended for working in continuous rounds)
- Keychain ring (optional, if you’d like to turn it into a bag charm or keychain)
This project is perfect for using up leftover yarn — you only need a small amount of each color. It’s one of those tiny makes that feels surprisingly satisfying for how little material it uses. 🍓
Abbreviations
Here are the stitches and terms used in this pattern:
- sc – single crochet
- inc – increase (2 single crochet in the same stitch)
- dec – decrease (single crochet two stitches together)
- sl st – slip stitch
- hdc – half double crochet
- dc – double crochet
If you’re still getting used to reading crochet abbreviations, don’t worry. After a few rounds, your eyes will start recognizing them naturally — and you can always keep the video open to follow along visually. If you want a quick visual reference, here’s how to read crochet chart symbols.
📝 Notes Before You Start
- This strawberry is worked in continuous spiral rounds — we don’t join at the end of each round.
- Use a stitch marker to mark the first stitch of every round. It makes a big difference and prevents miscounting.
- Start stuffing the strawberry before the opening gets too small (around Round 10–12). It’s much easier than trying to push stuffing into a tiny hole at the end.
- Keep your stitches nice and snug so the stuffing doesn’t show through. If you notice small gaps, try tightening your tension slightly.
If this is your first time working in spirals, take it slow and trust the process. The shape might look a little odd halfway through — that’s completely normal. It all comes together in the final rounds. 🍓
🍓 Mini Crochet Strawberry Pattern
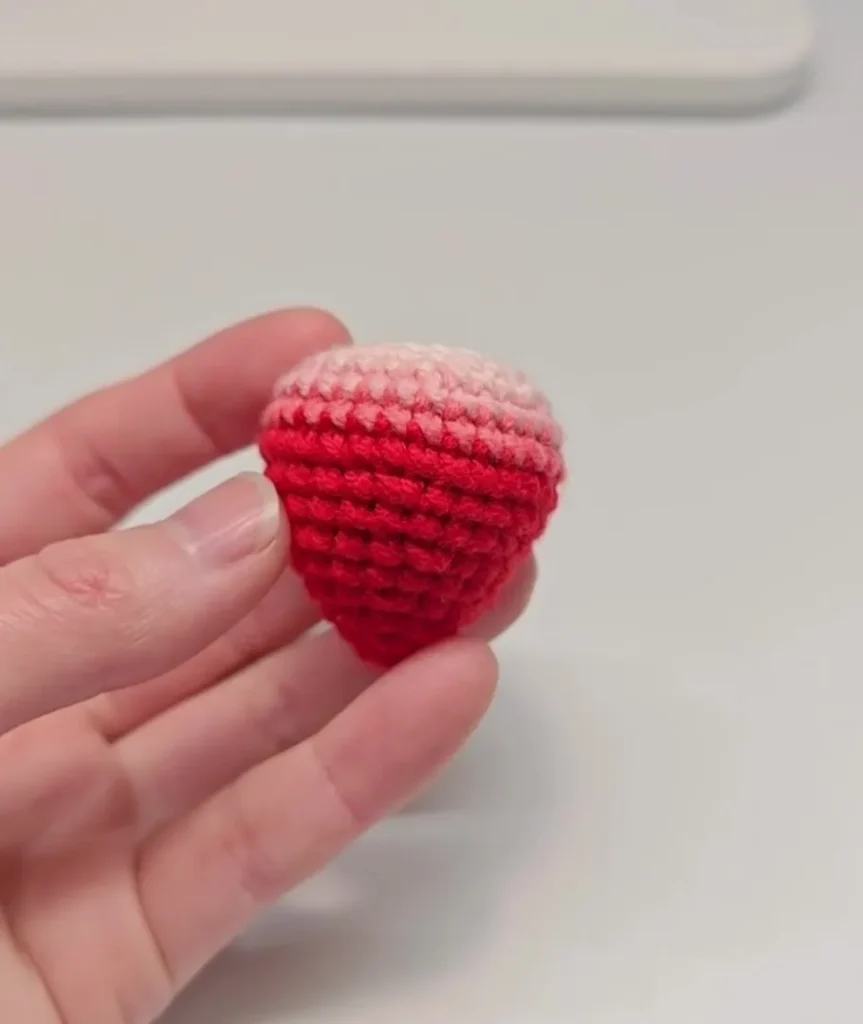
Strawberry Body
Using red yarn
R1: 6 sc in magic ring (6)
R2: (sc, inc) × 3 (9)
R3: (2 sc, inc) × 3 (12)
R4: (sc, inc) × 6 (18)
R5: sc in each stitch around (18)
R6: (2 sc, inc) × 6 (24)
R7: sc in each stitch around (24)
R8: (3 sc, inc) × 6 (30)
R9: sc in each stitch around (30)
R10: sc in each stitch around (30)
R11: sc in each stitch around (30)
Lightly stuff the strawberry.
Switch to white yarn
R12: (3 sc, dec) × 6 (24)
R13: (2 sc, dec) × 6 (18)
R14: (sc, dec) × 6 (12)
R15: dec × 6 (6)
Fasten off and close the opening securely.
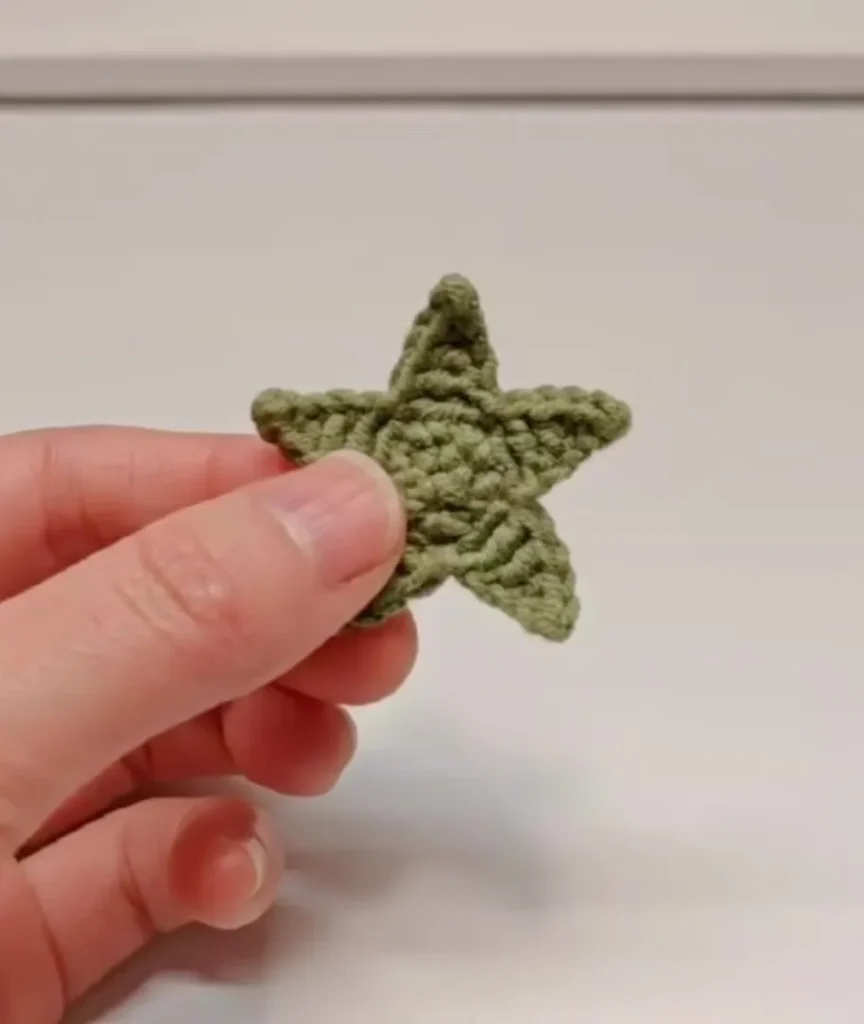
Strawberry Leaves
Using green yarn:
R1: 5 sc in magic ring
R2: 2 sc in each stitch around (10)
Now create the leaf points:
Chain 5. Starting in the second chain from hook:
sl st, sc, hdc, dc.
Skip 1 stitch on the base round, then sl st into the next stitch.
Repeat this sequence 5 times around.
Fasten off, leaving a tail for sewing.
Assembly
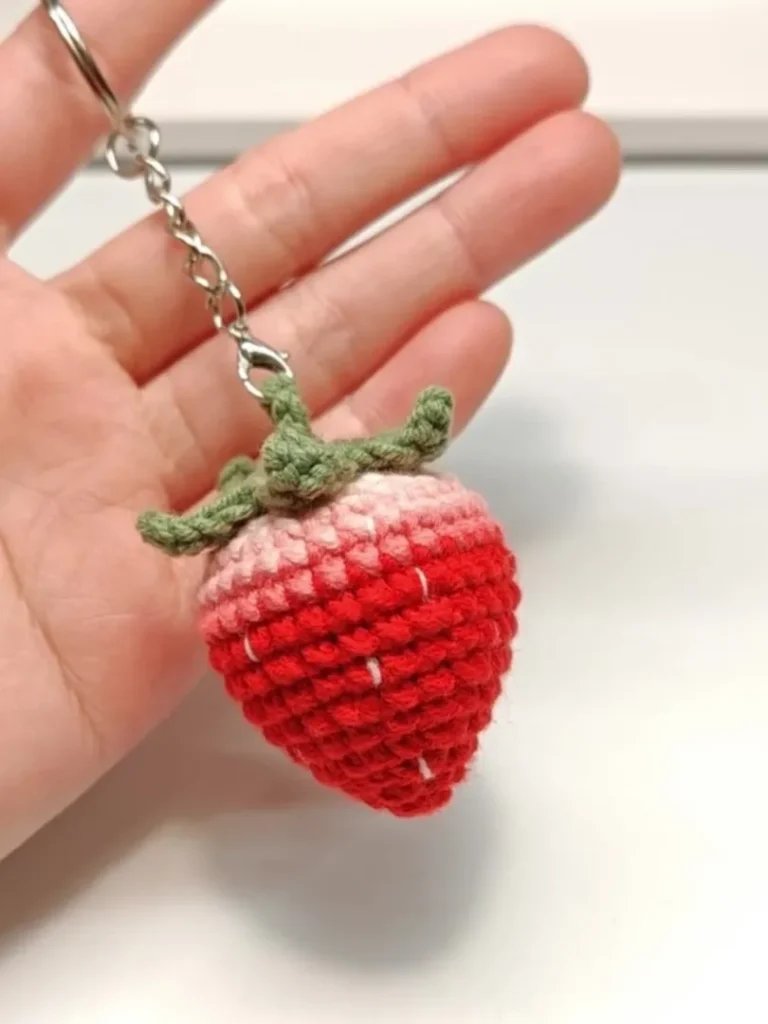
Place the leaves on top of the strawberry and sew them securely in place using the yarn tail.
If you’re making a keychain, attach the ring through the center of the leaves before tightening everything completely.
Weave in all loose ends carefully and trim excess yarn.
Give it a gentle squeeze — and your mini strawberry is ready. 🍓
🍓 Common Questions & Fixes
Q: Why don’t my leaves form five clear points? It doesn’t look like a star.
A: This usually happens for one of two reasons.
First, double-check your stitch count in Round 2 — you should have 10 stitches before creating the leaf points. If the count is off, the spacing won’t divide evenly into five sections.
Second, tension can affect the shape. If your chains are very loose (or very tight), the points may curl or flatten. Try keeping your stitches even and slightly snug for a cleaner star shape.
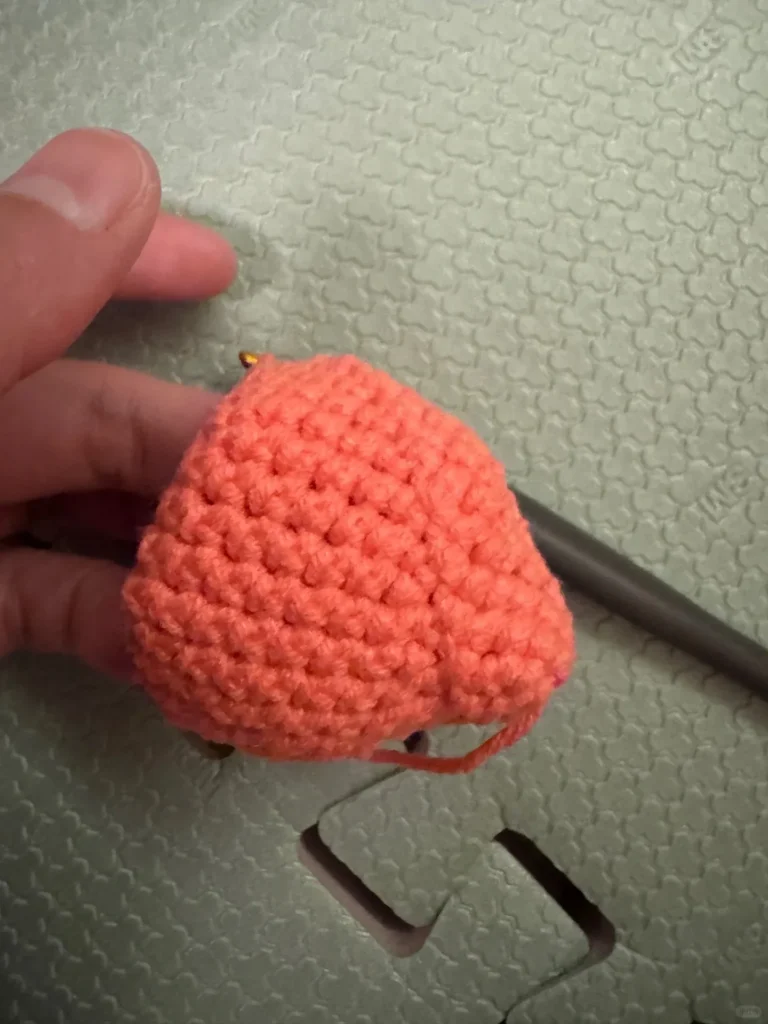
Q: Why is there a visible line running down the back of my strawberry?
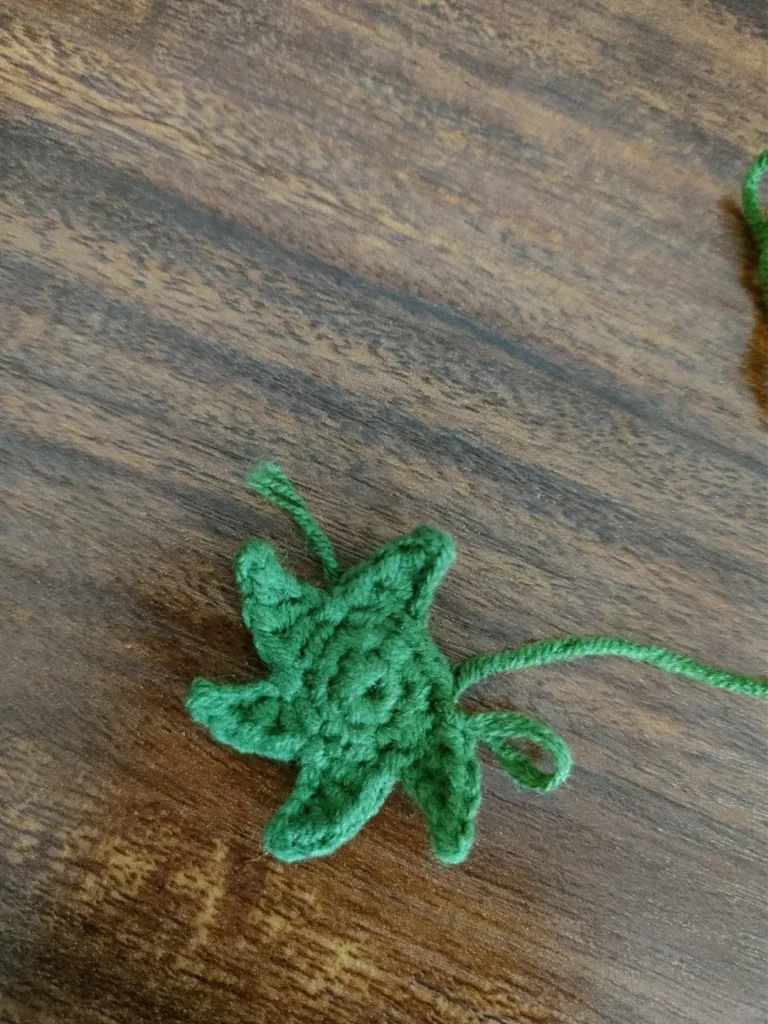
A: That line is usually caused by where the new round begins. When working in continuous rounds, make sure your first stitch of each round goes into the actual first stitch — not into the slip stitch or the wrong space.
Using a stitch marker and moving it up each round helps prevent this. A small shift in starting position can create that noticeable seam line.
🍓 Try This Next
Once you’ve finished one strawberry, it’s surprisingly hard to stop. Tiny projects like this are perfect for practicing shaping and getting comfortable with amigurumi techniques.
If you enjoyed this little fruit, you might also like making a mini crochet apple. It uses a similar shaping idea but creates a rounder fruit shape, which makes it a fun next step.
Or if you’d like to try something slightly different, this crochet orange drawstring pouch turns the same fruit inspiration into a small functional project.
Before long you might have a tiny crochet fruit collection growing on your desk or hanging from your bag. 🍓🍎🍊