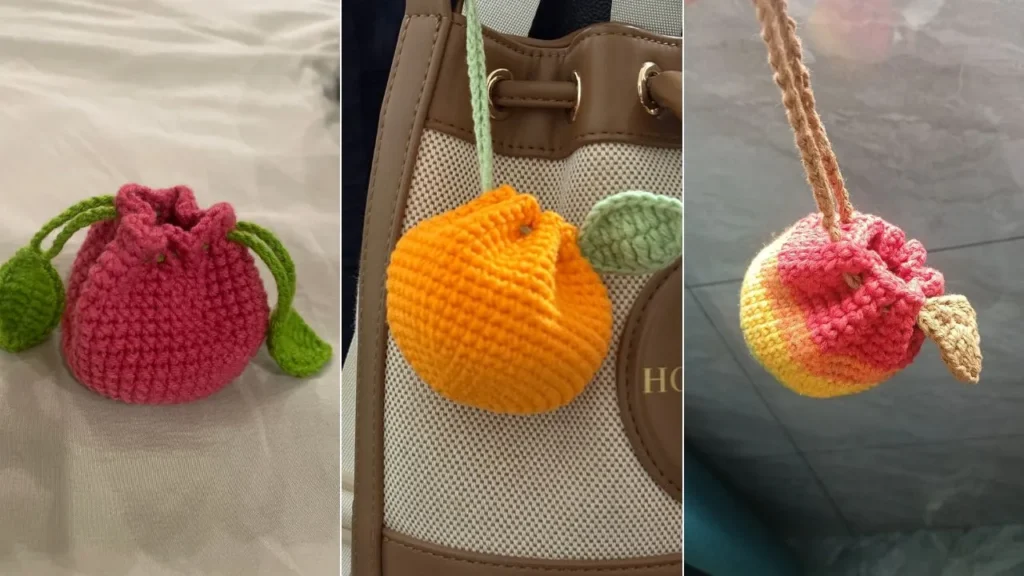
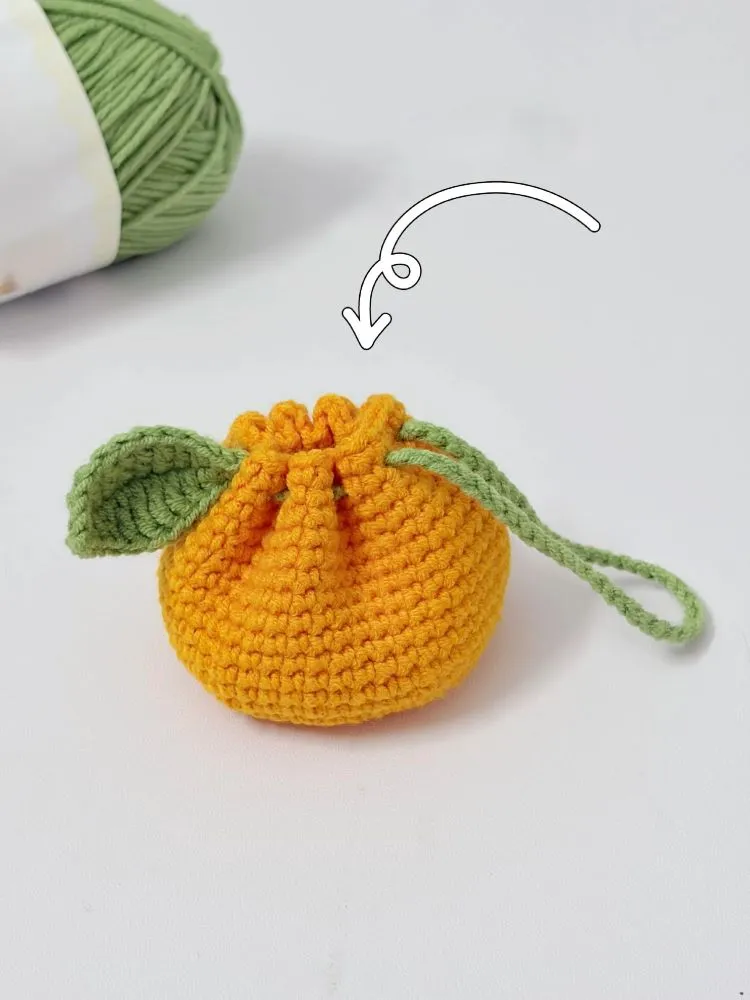
I made this little orange pouch for a very simple reason — my earphones were always a mess.
Whether it was wired earbuds tangled at the bottom of my bag, or my small Bluetooth earbuds rolling around without a case, I kept wishing I had something soft and handmade to keep them in one place. I didn’t want a bulky pouch. I wanted something small, cute, and practical.
That’s how this tiny crochet orange drawstring bag came to life.
It’s just big enough to hold wired earphones, small wireless earbuds, coins, or other tiny essentials. And the best part? It’s perfect for using up leftover yarn. The round shape makes it look like a real little orange, and once you add the leaf on top, it feels surprisingly charming for such a simple project.
If you enjoy making small, useful pieces that don’t take forever to finish, this one is such a satisfying make. 🍊 If you’re still learning the basics, you can also review the single crochet stitch before starting.
🎥 Watch the Video First
Before starting the written pattern, I recommend watching the video once from beginning to end.
The tutorial is filmed at a slower pace so beginners can clearly see where each stitch goes and how the shape gradually forms. If you’re new to working in rounds or starting projects with a magic ring, watching the video first can make the steps much easier to understand.
You can pause the video and crochet along with me. The written pattern below works as a helpful reference, while the video shows the process in real time so you can follow each round more comfortably.
Pattern Snapshot
Here’s a quick overview of the project before we begin:
Skill Level: Beginner–Intermediate
Time Required: About 1.5–2 hours
Finished Size: Approximately palm-sized (large enough to hold earbuds or small items)
Construction: Worked in continuous spiral rounds, with a drawstring opening at the top
This project is a nice step up if you’re already comfortable with basic stitches like single crochet, increases, and decreases. The shape grows gradually into a small pouch, and the drawstring row creates the opening that lets you close it like a tiny bag.
Materials
Here’s what you’ll need to make the crochet orange pouch:
- DK weight cotton yarn in orange (pouch body) and green (leaf and drawstring). If you’re unsure which yarn works best for beginner projects, you can check this guide to best yarn for crochet beginners.
- 2.0 mm crochet hook
- Stitch marker to keep track of the beginning of each round
- Yarn needle for weaving in ends and attaching the leaf
- Scissors
This project doesn’t require much yarn, so it’s a great way to use leftover cotton from other small projects. Cotton yarn also helps the pouch keep its shape while still staying soft enough for small items like earbuds. 🍊
🍊 Crochet Orange Drawstring Pouch Pattern
If this is your first time making a drawstring pouch, don’t worry — the video tutorial above shows the full process step by step.
Below is the full pattern for the crochet orange pouch. The instructions are written using standard crochet abbreviations and worked mostly in continuous rounds.
Take your time with the increases in the early rounds — they help shape the pouch into a smooth, round orange. Once the base is finished, the drawstring row creates the opening that lets the pouch close like a tiny bag.
Abbreviations
sc – single crochet
inc – increase (2 sc in the same stitch)
dec – decrease (single crochet two stitches together)
sl st – slip stitch
hdc – half double crochet
dc – double crochet
tr – treble crochet
ch – chain
If you’re still getting used to crochet abbreviations and symbols, this guide on how to read crochet chart symbols may also help.
Notes Before You Start
- The pouch is worked in continuous spiral rounds, so do not join at the end of each round.
- Use a stitch marker to mark the first stitch of every round. This makes it much easier to track your progress.
- The ch-1 spaces in Round 20 will form the small holes used to thread the drawstring.
- Try to keep your tension even so the pouch keeps a smooth round shape.
- If you plan to store earbuds inside, slightly tighter stitches help the pouch hold its shape better.
Orange Base Pattern
Using orange yarn:
R1: 6 sc in magic ring (6)
R2: inc in each stitch around (12)
R3: (sc, inc) × 6 (18)
R4: sc, inc, 5 × (2 sc, inc), sc (24)
R5: (3 sc, inc) × 6 (30)
R6: 2 sc, inc, 5 × (4 sc, inc), 2 sc (36)
R7: (5 sc, inc) × 6 (42)
R8: 3 sc, inc, 5 × (6 sc, inc) (48)
R9–R16: sc in each stitch around (48)
At this point, the pouch should begin forming a rounded orange shape.
R17: (6 sc, dec) × 6 (42)
R18–R19: sc in each stitch around (42)
R20: (2 sc, ch 1) repeat around (42)
This round creates the drawstring holes.
R21: sc in each stitch around (42)
Fasten off and weave in the end.
Leaf Pattern
Using green yarn:
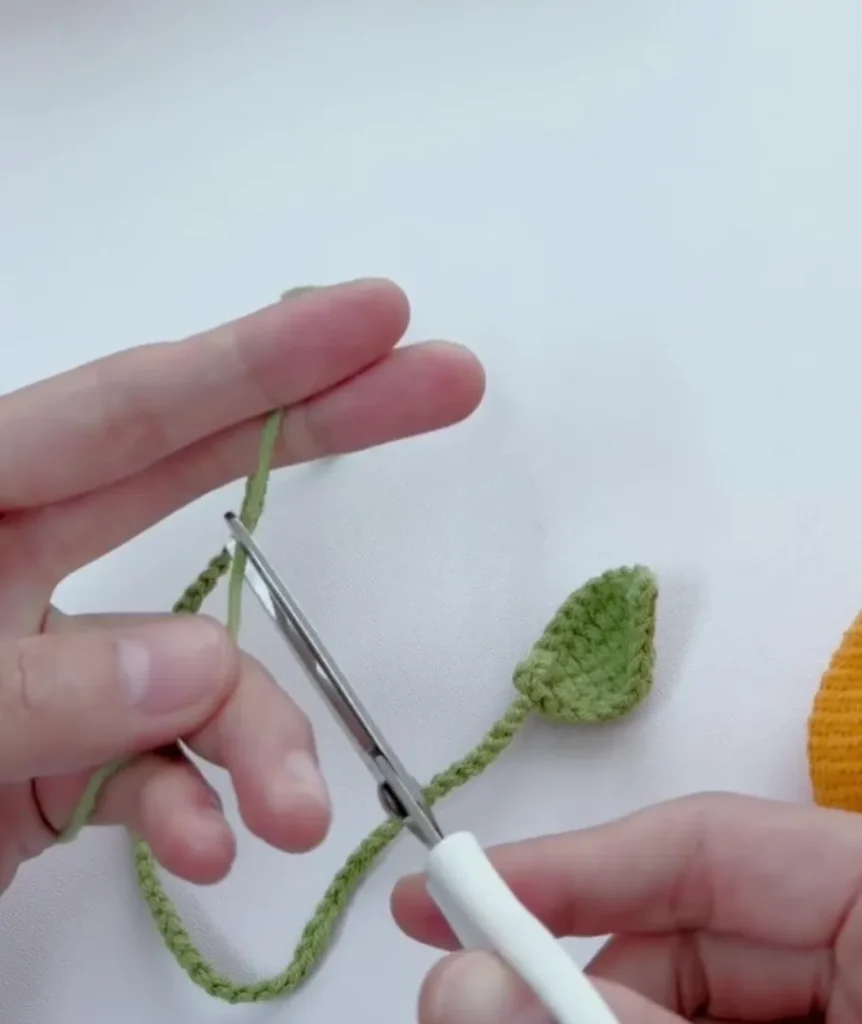
Ch 13.
Starting in the second chain from hook:
sl st, sc, hdc, dc, 4 tr, dc, hdc, sc.
In the last chain stitch, work:
(sl st, ch 1, sl st)
Then work down the opposite side of the chain:
sc, hdc, dc, 4 tr, dc, hdc, sc, sl st.
Fasten off, leaving a tail for sewing.
Drawstring & Assembly
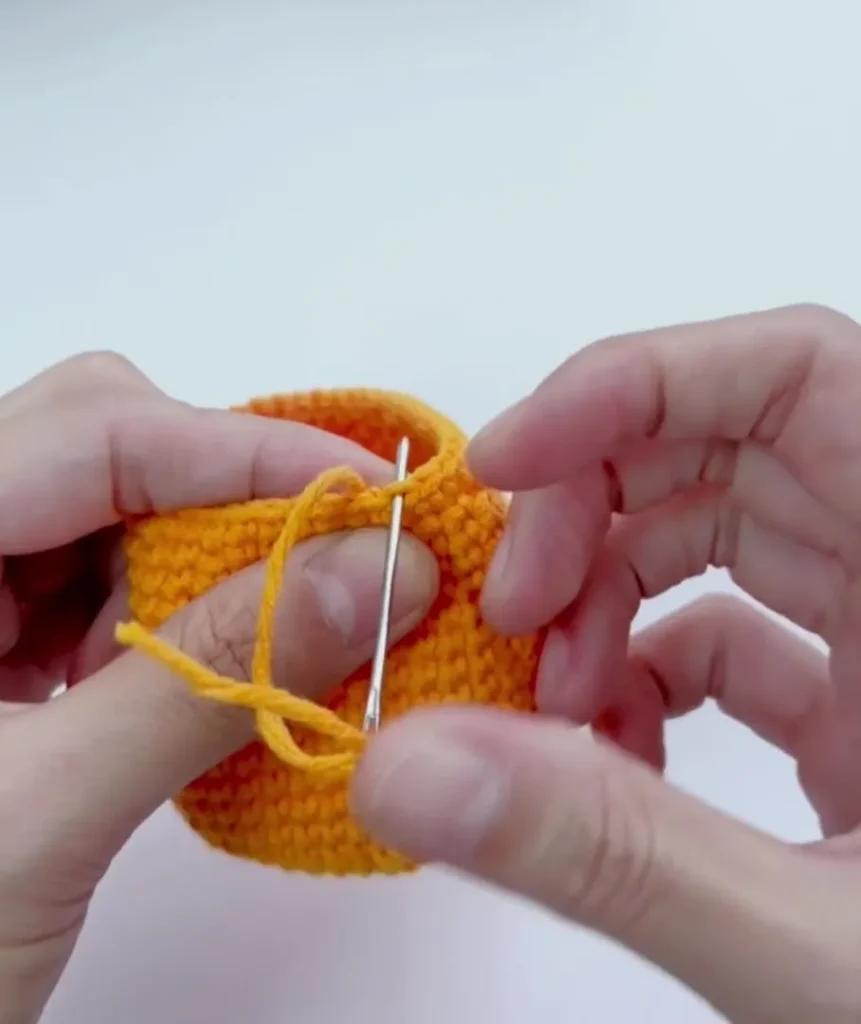
Using green yarn, create the drawstring.
Ch 60 (or adjust the length depending on how long you want the string).
Thread the chain through the ch-1 spaces created in Round 20, weaving it in and out around the pouch opening.
Pull both ends to tighten the pouch.
Attach the leaf to the center of the drawstring or sew it to the top of the pouch if you prefer.
Adjust the drawstring length, weave in any remaining yarn ends, and your crochet orange pouch is ready to use. 🍊
Common Mistakes & Troubleshooting
When making this little orange pouch, a few small issues can appear during the process. Most of them are easy to fix once you know what causes them.
Here are some common problems and how to solve them.
Why does a raised line appear where I slip stitched?
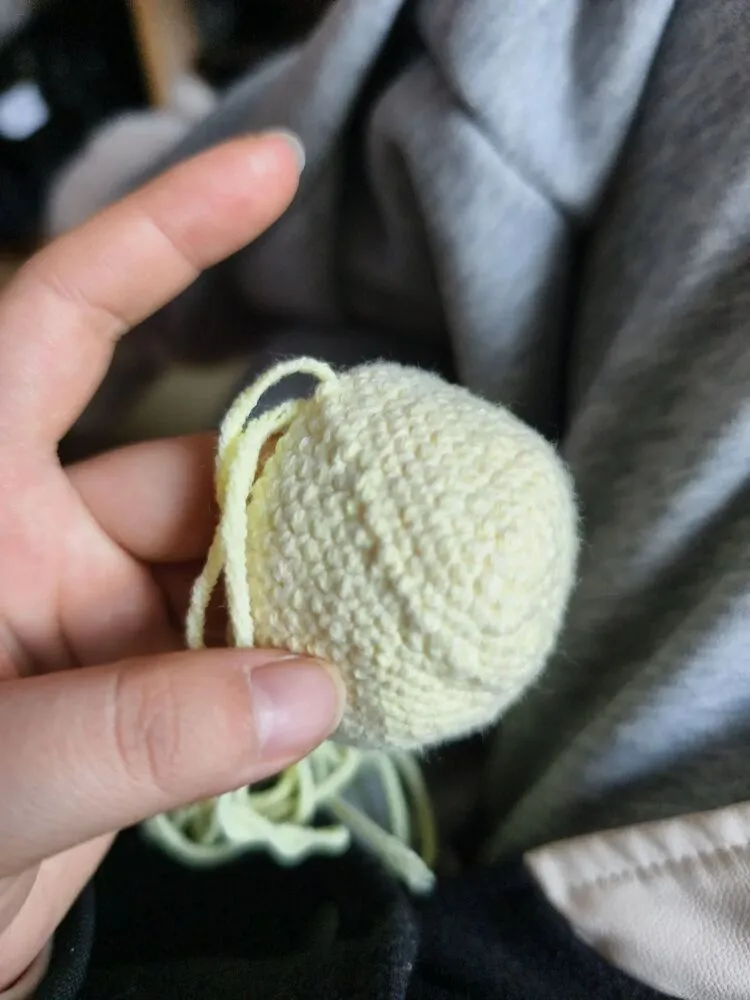
Sometimes you may notice a small ridge or raised line around the pouch where the slip stitch is made.
This usually happens when the yarn at the slip stitch is left too loose. Try gently tightening the yarn after making the slip stitch so the stitch sits closer to the surrounding stitches. A slightly firmer pull will help the surface look smoother and more even.
As long as the stitches are consistent, this ridge is mostly a visual detail and won’t affect how the pouch works.
I can’t figure out the drawstring and my Round 20 stitches look messy
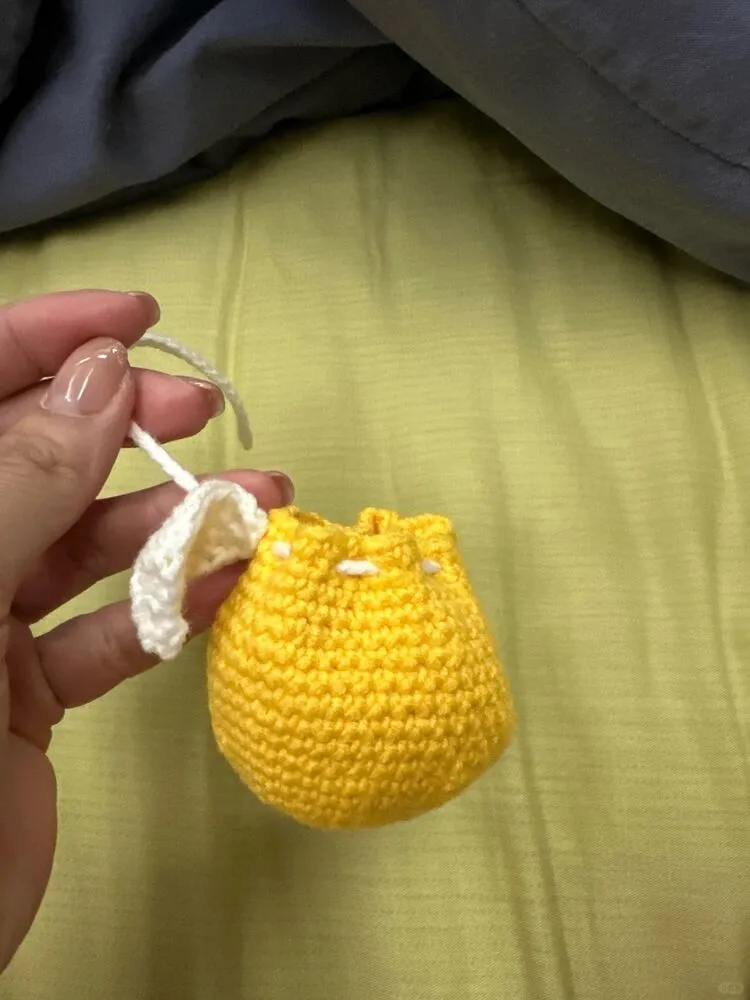
The drawstring part can feel confusing the first time you make it.
Remember that the chain drawstring should be threaded through the chain spaces created in Round 20. These small openings are intentionally made so the string can pass through and close the pouch.
When finishing the drawstring, make the final slip stitch at the top of the leaf. If you’re worried the drawstring might loosen, you can tie a small knot and hide the yarn end inside the stitches to secure it.
My leaf keeps coming loose after pulling the drawstring
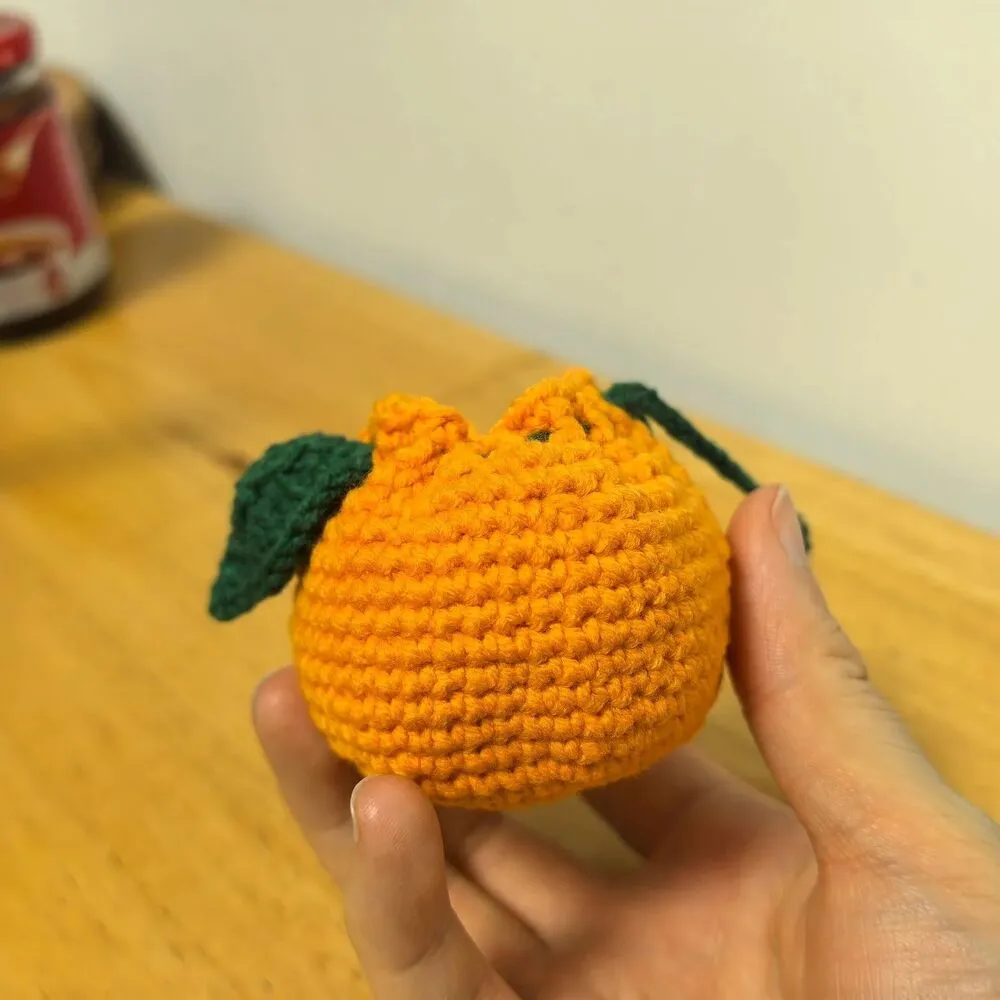
If the leaf starts separating when you tighten the pouch, the finishing yarn end may not be secured tightly enough.
You can carefully undo one stitch at the end, tie a small knot to secure the yarn, and then weave the yarn tail back into the stitches to hide it. This extra step helps keep the leaf firmly attached even after repeated use.
Once the yarn ends are properly secured, the leaf should stay in place without coming loose.
Try This Next
If you enjoyed making this orange pouch, you might also like these small fruit crochet projects.
You can try making a mini crochet strawberry keychain. It’s a tiny amigurumi project that works up quickly and uses similar shaping techniques.
Another cute option is this mini crochet apple, which creates a round fruit shape using simple increases and decreases.
Before long you might have a whole little crochet fruit collection on your desk or attached to your bag. 🍊🍓🍎