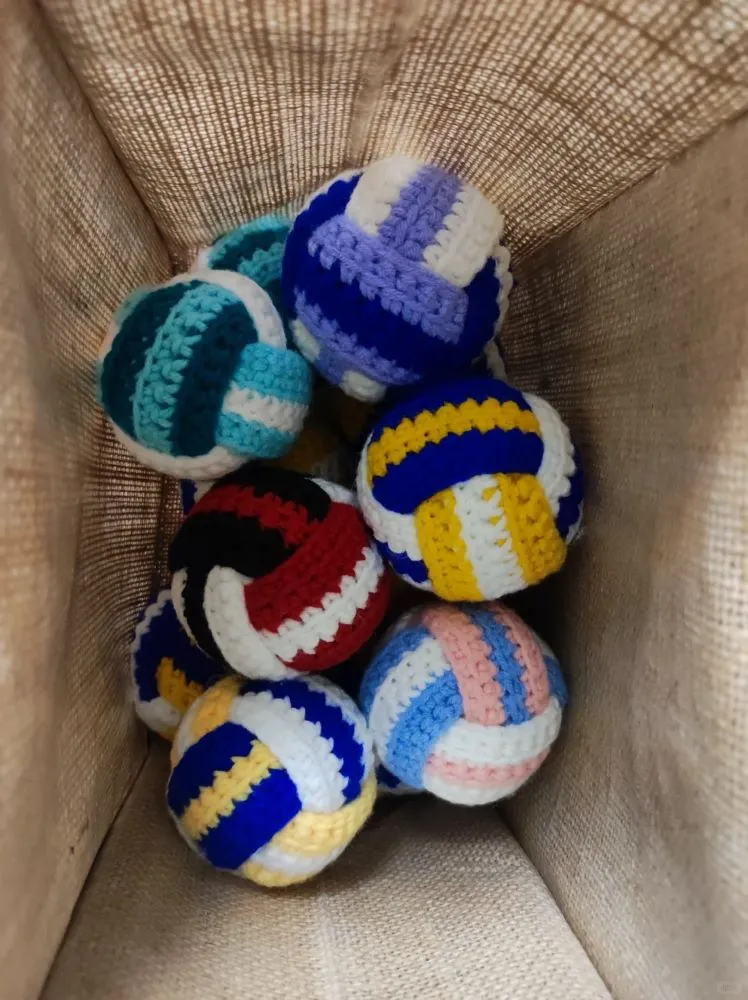
This tiny crochet volleyball is a fun and simple project that you can finish in a short amount of time. Instead of working in the round like many amigurumi balls, this design starts with a crocheted strip that is later folded and sewn into a ball shape.
By changing yarn colors along the strip, you can create the classic volleyball pattern with blue, yellow, and white sections. The result is a small, soft crochet ball that works well as a decoration, a small toy, or even a keychain.
If you already know how to make chain stitches and single crochet, this project should feel very approachable.
Watch the Video First (Recommended)
Before starting the pattern, you may want to watch the video tutorial once from beginning to end. If you’re brand new to crochet, you can start with my Start Here beginner guide and then come back to this project.
The video shows how the crochet strip is made, how the colors are changed, and how the piece is folded and sewn into a ball. Seeing the process visually can make the assembly step much easier to understand.
You can also pause the video and crochet along at your own pace.
Crochet Mini Volleyball – Beginner Friendly Pattern
This small crochet volleyball is made from a simple crocheted strip that is folded and sewn into a ball shape. Different yarn colors create the classic volleyball pattern.
It’s a fun and quick project that works well as a small decoration or handmade toy.
Materials
- Yellow yarn
- Blue yarn
- White yarn
- 2.0–2.5 mm crochet hook
- Fiberfill stuffing
- Yarn needle
- Scissors
If you’re not sure which hook size to use for tighter fabric (so stuffing doesn’t peek out), this guide on crochet hooks for beginners may help.
Abbreviations
| Abbreviation | Meaning |
|---|---|
| ch | chain |
| sc | single crochet |
| BLO | back loop only |
| FLO | front loop only |
If crochet terms like BLO/FLO still feel confusing, this quick guide on how to read crochet chart symbols can be a helpful reference.
Crochet Strip
Start with yellow yarn.
Row 1
ch 29
Starting from the second chain from hook:
28 sc
Row 2
Turn your work
27 sc in back loop only
Make the last stitch unfinished and change to blue yarn
Row 3
28 sc in back loop only
Row 4
27 sc in back loop only
Make the last stitch unfinished and switch back to the yarn used in Row 2.
Leave the yarn from Row 4 long and fasten off.
Row 5
28 sc in back loop only
ch 1 and fasten off, leaving a tail about 10 cm long for sewing.
Assemble the Ball
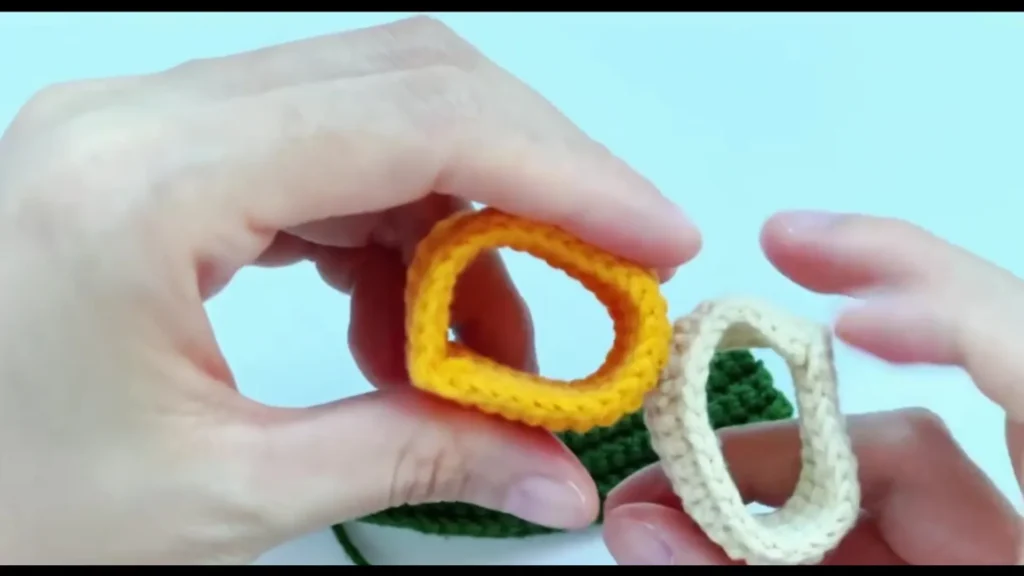
Fold the strip into a ball shape with the textured side facing outward.
Use the yarn tail to sew the edges together while stuffing the inside with fiberfill.
Adjust the shape as you sew so the ball becomes round.
Common Questions
Why does my volleyball look strange?
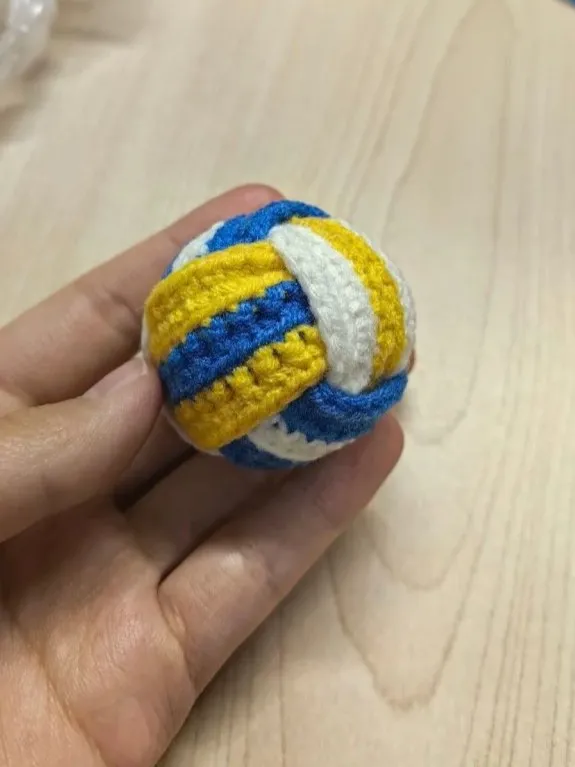
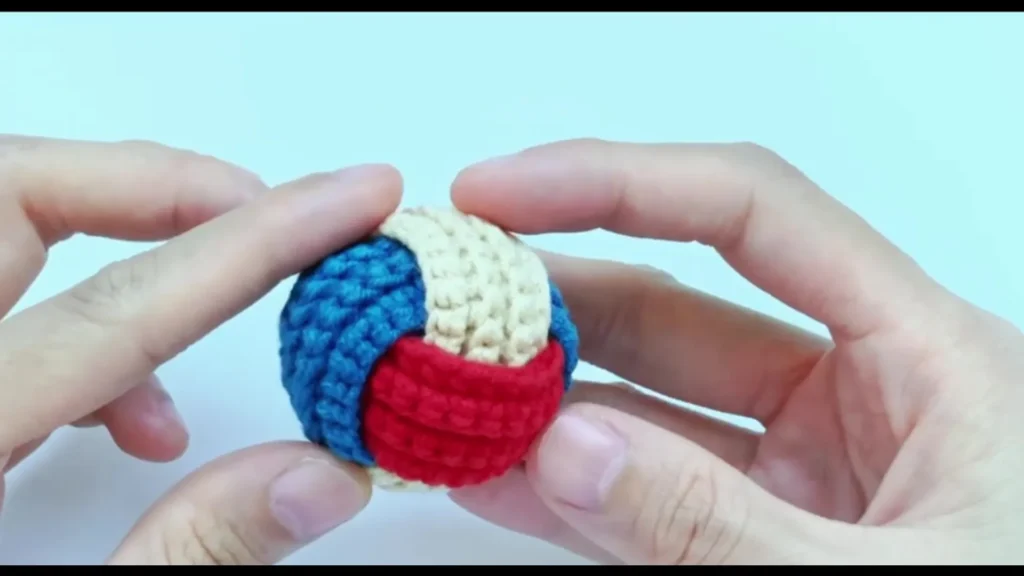
This usually happens when the strip is folded the wrong way before sewing.
Make sure the textured side of the stitches faces outward when assembling the ball. The video tutorial shows how to distinguish the correct side.
Why does my ball look loose or stuffing comes out?
This usually means the hook size is too large for the yarn or the stitches are too loose.
Try using a smaller crochet hook or crochet a bit tighter. This will help the fabric hold the stuffing better.
What to Try Next
If you enjoyed making this mini crochet volleyball, you might like my small sports-themed crochet projects too.
Next, try this crochet ping pong paddle keychain — it’s another quick project, but it lets you practice shaping and assembling flat pieces.
I’ll also be adding more mini sports charms soon (like a mini crochet tennis ball and other tiny sports keychains), so feel free to bookmark this page and check back later.