Welcome! I’m really happy you’re here and ready to learn a new crochet skill.
Crocheting in the round can feel a little confusing at first, especially when you move from rows to circles. Things like turning chains, stitch counts, and increases can suddenly make a simple stitch feel complicated. But once it clicks, it becomes much easier—and honestly, a lot of fun.
When I first started learning how to crochet a double crochet circle, I watched many videos and followed different patterns. Sometimes my circle looked great, and sometimes it didn’t stay flat at all. I realized that the problem wasn’t the stitch itself, but understanding how the circle grows from round to round.
That’s why I created this tutorial.
In this guide, you’ll learn how to crochet a basic double crochet circle, step by step, using a simple and repeatable structure. This written pattern is designed to go together with the video, so you can crochet along, pause when needed, and check your stitch count as you go. If you’re completely new to crochet, you may want to start with the Start Here beginner guide before jumping into this project.
Take your time, don’t worry about being perfect, and enjoy the process. By the end, you’ll have a flat circle—and a solid foundation you can use for many future projects.
What You Need
You don’t need much to get started. Keep it simple.
- Yarn
A smooth yarn that works well with a 2.5 mm hook.
Fingering weight or light sport weight yarn is a good choice for this tutorial, especially if you’re using beginner-friendly yarn. - Hook
2.5 mm crochet hook (the same size used in the video). If you’re still choosing your first hook, this crochet hook guide for beginners may help. - Scissors
Any basic pair of scissors for cutting yarn.
That’s it. No special tools, no extra accessories—just the basics so you can focus on learning the stitch and the circle structure.
Watch the Video First
This tutorial is designed for beginners who already know how to make a chain and a double crochet stitch, but feel confused when crocheting in the round.
The video is about 17 minutes long, and the pace is intentionally slow for beginners. You can watch it once from start to finish, or pause and follow along step by step as you crochet.
Use the written pattern below to double-check your stitch count whenever you need.
Basic Double Crochet Circle
(Standing Stitch Version – 6 Rounds)
Notes
- The standing double crochet counts as one stitch.
- Increases are worked into regular stitches, not into the standing stitch.
Round 1
Magic ring, standing DC (counts as first stitch), 15 DC.
Join with slip stitch.
(16 stitches)
Round 2
Standing DC, 2 DC in each stitch around.
Join with slip stitch.
(32 stitches)
Round 3
Standing DC, (1 DC, increase) repeat around.
Join with slip stitch.
(48 stitches)
Note:
The video covers the first three rounds so you can clearly see how the circle is built.
If you want to keep going and finish a coaster-sized circle, you can continue crocheting Rounds 4–6 using the written pattern below.
Round 4
Standing DC, (2 DC, increase) repeat around.
Join with slip stitch.
(64 stitches)
Round 5
Standing DC, (3 DC, increase) repeat around.
Join with slip stitch.
(80 stitches)
Round 6
Standing DC, (4 DC, increase) repeat around.
Join with slip stitch.
(96 stitches)
Common Beginner Problems
If this is your first time crocheting a circle, chances are you’ll run into at least one of these issues. That’s completely normal. Here are some of the most common questions beginners ask—and what’s usually going on.
1. What should I do with the yarn tail at the end?
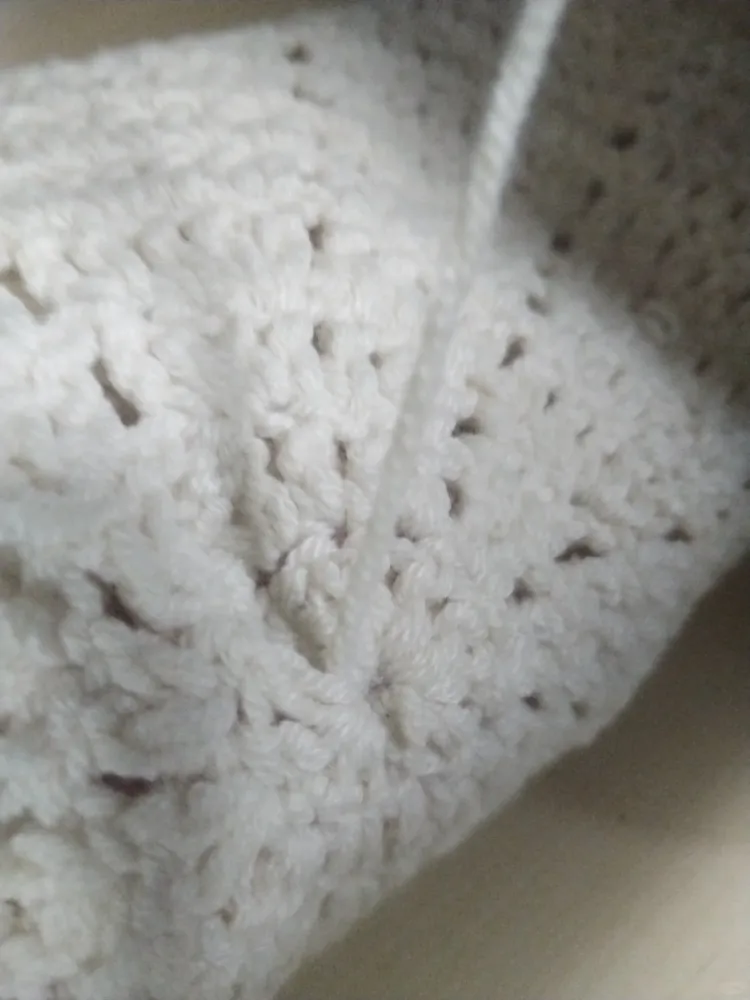
Once you finish your circle, use a yarn needle to weave the tail into the stitches on the back of your work. Go in one direction, then change direction slightly before trimming the excess yarn.
This helps keep the tail secure so it doesn’t come loose later.
2. Why are my holes so big?
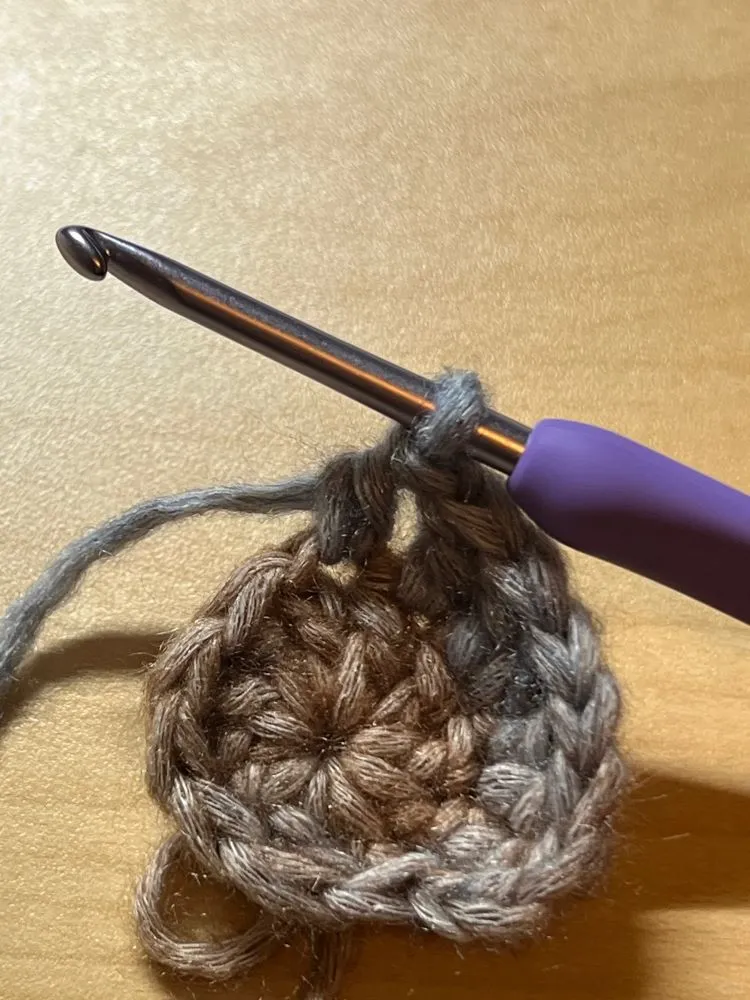
This usually happens in Round 2.
In this round, you are working two double crochets into every stitch, which naturally creates more space between stitches. This is normal for a double crochet circle and doesn’t mean you’re doing anything wrong.
As the circle grows and more stitches are added in later rounds, the holes will look more balanced.
3. Why does my circle look wrinkled or wavy instead of flat?
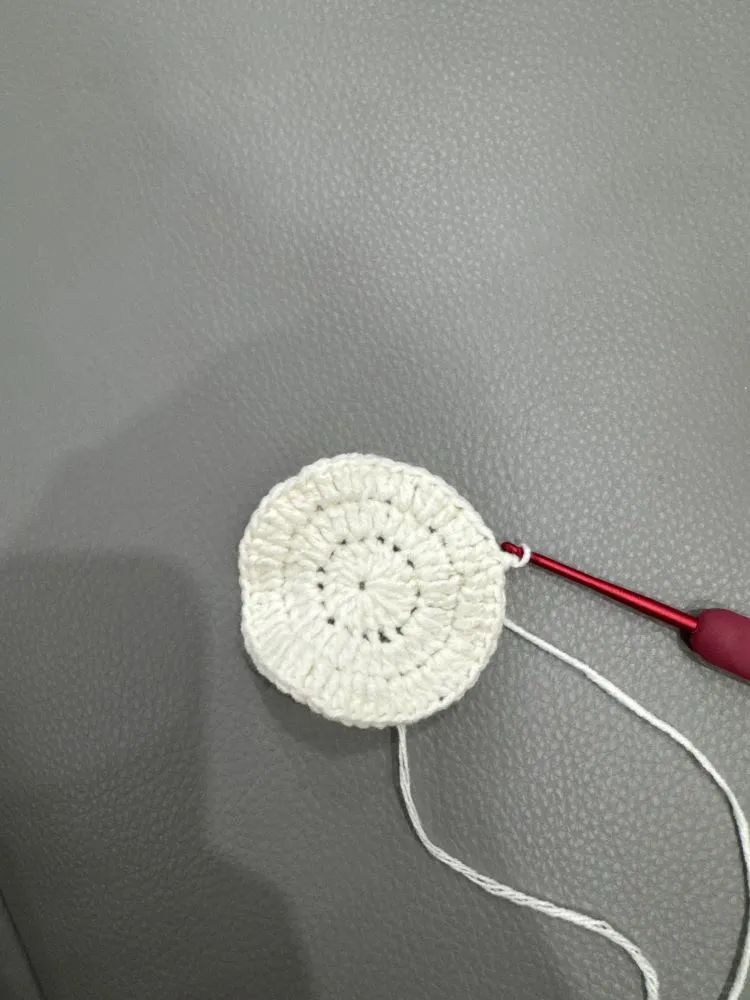
There are a couple of common reasons for this:
- Yarn thickness
The pattern starts with 15 double crochets in Round 1, which works well for thinner yarn.
If you’re using a thicker yarn, starting with too many stitches can cause the circle to ripple or wave. In that case, starting with 12 double crochets often works better. - Tension and finishing
A freshly crocheted circle can look a little uneven at first. Placing it inside a thick book overnight can help it relax and flatten nicely.
4. Why is my circle curling upward?
This is very common for beginners and usually comes down to tension.
If your stitches are tight or uneven, the circle may start to curl instead of lying flat. This often improves naturally as your hands relax with practice.
Just like with a wavy circle, gently pressing it under a heavy book for a night can help reduce the curling.
Crochet circles take a bit of practice, especially when you’re working with taller stitches like double crochet. Small imperfections are part of the learning process, and each circle you make will look better than the last.
What to Try Next
Once you’ve finished this basic double crochet circle, you’ve already learned a structure you can use again and again.
Here are a few simple ways to keep practicing:
- Turn it into a cup coaster
Six rounds make a great coaster size. - Use it as a bag base
The same circle structure works well for small bags or pouches. - Create a motif
This circle can be a building block for larger projects. - Practice swatches
Try making a few circles to get more comfortable with your tension and stitch placement.
If you’d like to explore further, you can also try:
- Adding a simple decorative edge
- Changing colors between rounds
- Crocheting the same circle using single crochet
- Continuing the pattern to make a larger circle
Each variation uses the same basic idea—you’re just taking it one step further.