
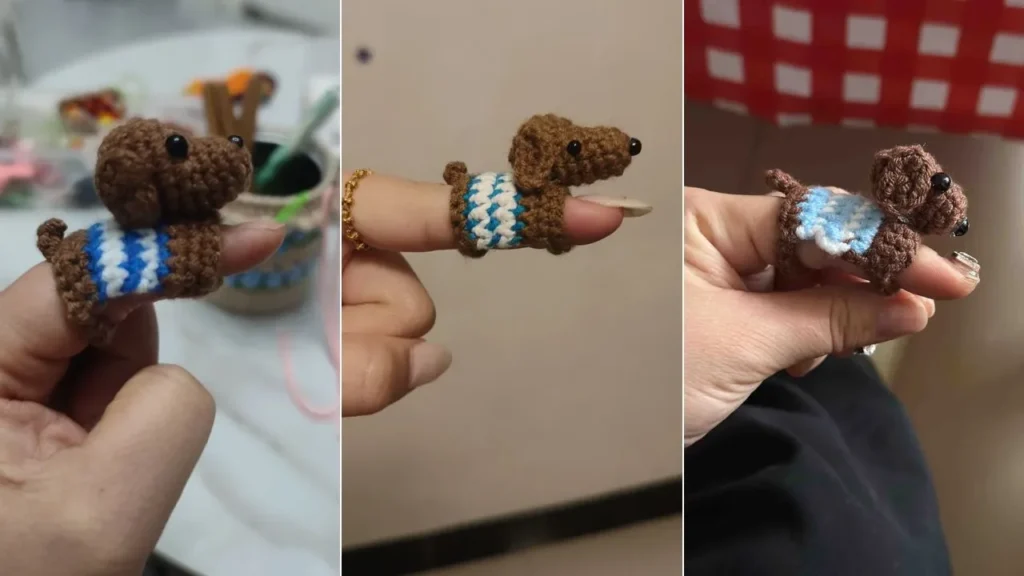
The moment this little dachshund started taking shape, I already knew it was going to be one of those tiny crochet projects that’s impossible not to smile at.
It has that long body, those floppy ears, and that slightly funny little look that makes dachshunds so recognizable even in miniature form. What I love most is that it doesn’t need many parts to feel full of personality. Once everything is put together, it really does look like a tiny dog with its own character.
This is the kind of crochet piece I enjoy making when I want something small, playful, and a little different from the usual quick projects. It doesn’t take much space, it doesn’t need a lot of yarn, and the finished result feels much more charming than its size would suggest. If you’re still getting used to small pieces worked from a magic ring, this project is also a nice way to practice that skill in a more playful form.
Watch the Little Dog Come Together
Some parts of this little dachshund are much easier to understand once you actually see them being put together. The video shows how the head, ears, and body come together and helps make the overall shape feel much clearer.
The Materials I Reached For
Here’s what I used for this tiny crochet dachshund:
- 2.0 mm crochet hook
- fine cotton yarn that works well with a 2.0 mm hook
- black safety eyes or small beads
- Yarn needle
- Scissors
- Clear glue (for attaching the pieces)
I used a fine yarn that works well for tiny projects like this and paired it with a 2.0 mm crochet hook to keep the shape neat without making the little dog look bulky.
A Few Pattern Terms Before We Start
Here are the main terms used in this pattern:
- MR = magic ring
- ch = chain
- sc = single crochet
- inc = increase
- dec = decrease
- sl st = slip stitch
- FO = fasten off
- st(s) = stitch(es)
This project includes a little bit of back-and-forth stitching as well as rounds. If chaining still feels uneven in your hands, it may help to practice the chain stitch on its own first before starting the ears or body.
How I Made This Tiny Dachshund
Dachshund Ears
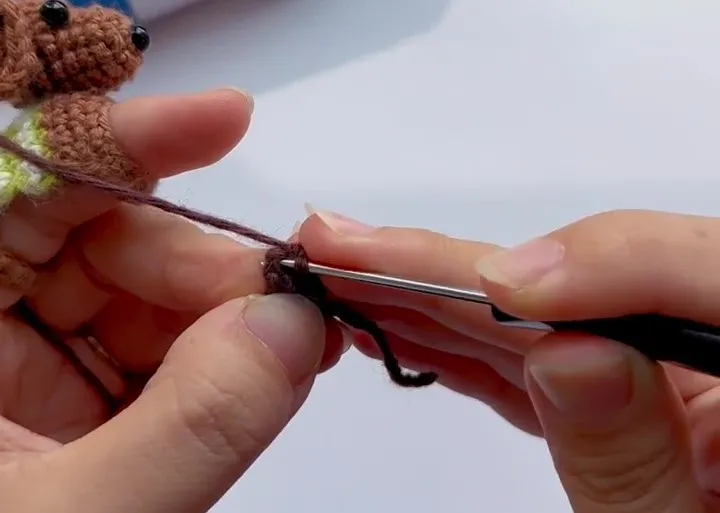
The ears are tiny, but they make a big difference to the finished look, so I like making these first.
Make 2 ears.
Round 1:
Ch 6.
Starting in the 2nd chain from hook, work 4 sc.
Work 3 sc in the last chain.
Continue on the other side of the chain and work 4 sc.
Join with a sl st to the first stitch.
Fasten off.
Head
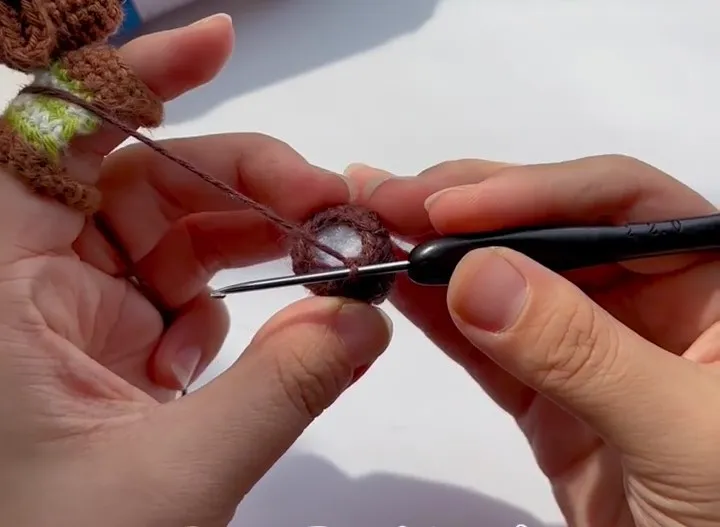
The head starts small, widens a little, and then closes up again. That gentle shaping is what gives the little dog its rounded face.
Round 1: 5 sc in MR. Pull the ring closed and join with a sl st. (5)
Round 2: Inc in each stitch around. (10)
Rounds 3–4: Sc in each stitch around. (10)
Round 5: 4 sc, inc in each of the next 2 stitches, 4 sc. (12)
Round 6: 3 sc, inc in each of the next 6 stitches, 3 sc. (18)
Rounds 7–8: Sc in each stitch around. (18)
Round 9: Repeat [1 sc, dec] around. (12)
Stuff the head lightly.
Round 10: Dec around. (6)
Fasten off and close the opening.
Body
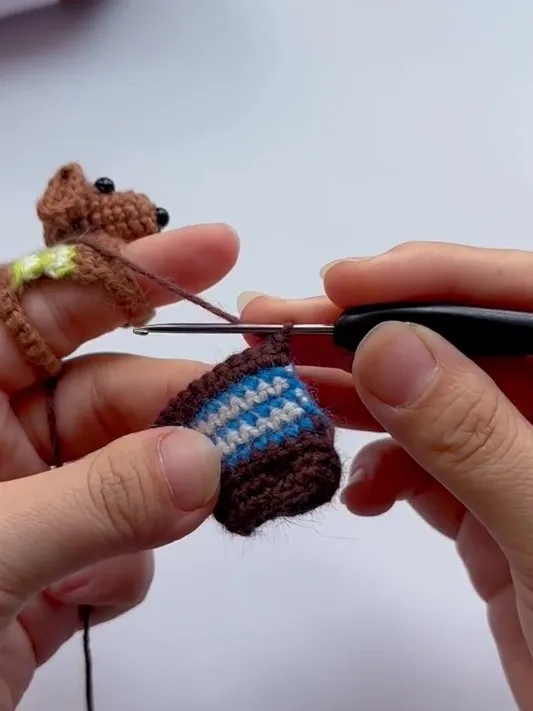
This is the part where the dachshund shape really starts to show. The long body is what gives it that unmistakable sausage-dog look.
Main Body
Round 1:
Ch 16 and join with a sl st to the first chain to form a ring.
Round 2:
Work 1 sc in each stitch around.
Join with a sl st to the first stitch.
Now you will start working back and forth over part of the body instead of continuing around the full ring. If you enjoy small projects that combine shaping with a bit of back-and-forth work, my mini crochet pouch for yarn scraps is another fun one to try later.
Row 3:
Work 11 sc, ch 1, turn.
Row 4:
Work 11 sc back across.
If you want to add a different color for the sweater part, change color in the last stitch.
Row 5 and beyond:
Ch 1, turn, and work 11 sc across.
You can continue the color pattern however you like for the back.
Tail
After the last row, ch 9.
Join with a sl st to the first chain, then work 1 round of sc around it.
To make the tiny tail, insert your hook near the middle area and work:
ch 4, then starting in the 2nd chain from hook, work 3 sc.
Join with a sl st and fasten off.
Putting It All Together
Once the ears, head, and body are finished, attach everything in place. I used clear glue to fix the ears, head, body, and eyes.
If you want to see the placement more clearly before attaching the pieces, the video makes this part much easier to follow. Projects like this are also the kind of thing many people expect from crochet kits for beginners, although I usually find tiny handmade patterns more fun to personalize.
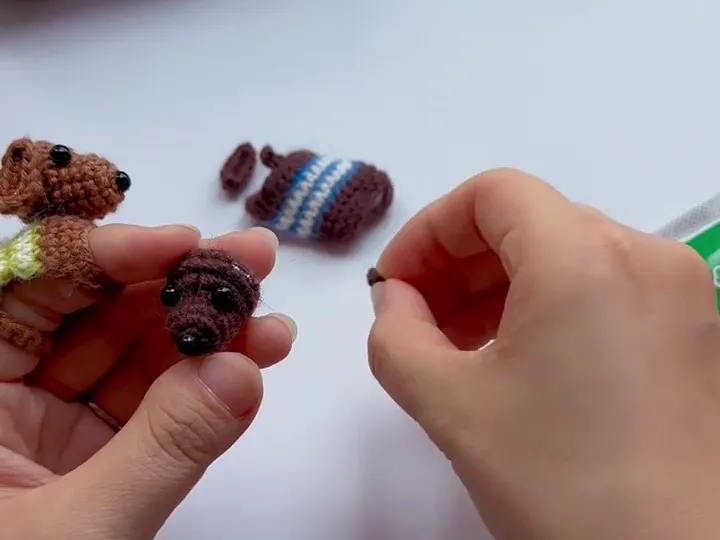
Because this little dog is so small, there are a lot of fun ways to use it. You can keep it as a finger puppet, turn it into a tiny decoration, attach it to a bag charm, or use it as a playful little handmade gift.
I also think it would be really cute made in different sweater colors.
If You Feel Like Making Another Tiny Animal Next
If you enjoy small crochet characters like this, making another tiny project right after it is a nice way to stay in that playful mood.
Here are a few more little projects you might enjoy:
- 5-Minute Crochet Cat – a tiny flat project that comes together surprisingly fast
- Crochet Fish Pattern – a cute little make with a simple shape and a bit more dimension
- Mini Crochet Strawberry Keychain – a sweet small project that still feels full of personality
- Crochet Mini Apple – another tiny crochet piece that’s fun to make with just a little yarn